服务器联网
默认状态下,服务器是只能访问校园网的,若有需要访问互联网,则要可通过以下方式访问互联网:
浏览器登录
在可以使用GUI的服务器上打开浏览器,访问登录复旦校园网
,然后输入学号、密码登录网络,在不需要使用外网后,也可以及时注销网络。
命令行执行脚本
警告
这种方法可能会造成用户名以及密码泄露,请注意隐私安全!
可以通过执行对应脚本来获取网络权限。
登录网络
登录脚本:
 1
 2
 3
 4
 5
 6
 7
 8
 9
10
11
12
|
#!/bin/bash

URL="https://wlrz.fudan.edu.cn/include/auth_action.php"
username="your_username"
password="your_password"
# 如果你的服务器配置了多个内网IP,需要指定默认的出口IP
# 否则可能导致上网功能失效
ip=""

result=`curl $URL --insecure --data "action=login&username=$username&password=$password&ac_id=1&user_ip=$ip&nas_ip=&user_mac=&save_me=1&ajax=1"`

echo $result
|
这里需要将username, password替换为对应的账号密码,ip则不是强制需要填写的,填写完成之后,执行该脚本即可。
此外,为了保证脚本密码不被泄露,建议使用运行完成脚本后,使用如下命令加密脚本:
1
2
3
4
|
zip -e login.zip login.sh
# 输入对应的密码确认即可
# 然后可以使如下的命令解压出原始的登录脚本文件
unzip login.zip
|
注销网络
执行以下命令,即可以注销网络:
1
2
|
# username=后面要替换为自己的学号
curl -d 'action=logout' -d 'username=2021024' -d 'ajax=1' http://10.108.255.249/include/auth_action.php
|
代理
这种方式的支持,需要在自己常用的设备上配置好SOCKS5代理服务器或者HTTP代理服务器。
代理访问网络的方式,原理上是在终端中设置对应的HTTP_PROXY以及HTTPS_PROXY,然后支持这种代理的软件,会自动获取这个环境变量的值,并将网络请求通过设定的这个值,进行代理访问。
使用代理示例
在.bashrc里面配置对应的环境变量:
1
2
3
|
# 这里只是示例,实际是无法访问的
export http_proxy=http://10.192.10.163:7890
export https_proxy=http://10.192.10.163:7890
|
然后可以通过执行下列语句来判断是否代理生效:
结果如下:
 1
 2
 3
 4
 5
 6
 7
 8
 9
10
11
12
13
14
15
16
17
18
19
20
21
22
|
* Uses proxy env variable no_proxy == 'localhost'
* Uses proxy env variable http_proxy == 'http://10.192.10.163:7890'
*   Trying 10.192.10.163:7890...
* TCP_NODELAY set
* Connected to 10.192.10.163 (10.192.10.163) port 7890 (#0)
* Proxy auth using Basic with user ''
> GET http://github.com/ HTTP/1.1
> Host: github.com
> Proxy-Authorization: Basic
> User-Agent: curl/7.68.0
> Accept: */*
> Proxy-Connection: Keep-Alive
>
* Mark bundle as not supporting multiuse
< HTTP/1.1 301 Moved Permanently
< Connection: keep-alive
< Keep-Alive: timeout=4
< Location: https://github.com/
< Proxy-Connection: keep-alive
< Content-Length: 0
<
* Connection #0 to host 10.192.10.163 left intact
|
可以看到,这里访问github.com的请求会先通过设定的代理进行访问,这样设置以后,就可以成功将服务器上的请求转发到代理服务器上了。
常用软件设置代理
警告
以下软件是不能通过在环境变量中设置HTTP_PROXY以及HTTPS_PROXY是的流量走代理的,因此,需要进行特殊的设置才能生效。
yum
Centos下软件管理器yum设置代理,需要在/etc/yum.conf后面添加以下内容:
1
2
3
|
proxy=http://10.192.10.163:7890/
proxy_username=xxx  # 有设置用户密码才需要,否则是不需要的
proxy_password=xxxx
|
apt
Debian/Ubuntu下软件管理器apt设置代理,在/etc/apt/apt.conf.d中增加配置文件,文件内容:
其中@前的是用户名和密码,若不需要,则直接不填,没有用户名密码限制的格式如下:
1
2
|
Acquire::http::proxy "http://10.192.10.173:7890";
Acquire::https::proxy "http://10.192.10.173:7890";
|
docker
信息
这种方式只能用于systemd管理的docker。
Docker 守护进程在其启动环境中使用HTTP_PROXY、HTTPS_PROXY和NO_PROXY环境变量来配置HTTP或HTTPS代理行为。
1
2
3
4
|
# 创建文件夹
sudo mkdir -p /etc/systemd/system/docker.service.d
# 创建文件
sudo vim /etc/systemd/system/docker.service.d/http-proxy.conf
|
写入如下内容:
1
2
3
4
|
[Service]
Environment="HTTP_PROXY=http://10.192.10.163:7890"
Environment="HTTPS_PROXY=http://10.192.10.163:7890"
Environment="NO_PROXY=localhost,127.0.0.1,10.96.0.0/12,192.168.59.0/24,192.168.39.0/24,192.168.49.0/24"
|
然后flush配置,并重启docker
1
2
|
sudo systemctl daemon-reload
sudo systemctl restart docker
|
可以使用以下方式查看环境变量是否设置成功:
1
|
sudo systemctl show --property=Environment docker
|
若设置成功,则可以输出对应的环境变量的设置。
containerd
这个设置与Docker
设置类似,在/lib/systemd/system/containerd.service中设置HTTP_PROXY、HTTPS_PROXY及NO_PROXY,然后再执行以下语句即可:
1
2
|
sudo systemctl daemon-reload
sudo systemctl restart containerd
|
示例:给containerd设置代理
1
2
3
4
5
6
7
8
9
10
11
12
13
14
15
16
17
18
19
20
21
22
23
24
25
26
27
28
29
|
[Unit]
Description=containerd container runtime
Documentation=https://containerd.io
After=network.target local-fs.target
[Service]
ExecStartPre=-/sbin/modprobe overlay
ExecStart=/usr/bin/containerd
Type=notify
Delegate=yes
KillMode=process
Restart=always
RestartSec=5
# Having non-zero Limit*s causes performance problems due to accounting overhead
# in the kernel. We recommend using cgroups to do container-local accounting.
LimitNPROC=infinity
LimitCORE=infinity
LimitNOFILE=infinity
# Comment TasksMax if your systemd version does not supports it.
# Only systemd 226 and above support this version.
TasksMax=infinity
OOMScoreAdjust=-999
# proxy 这里是假的数据,要改成对应自己的数据
Environment="HTTPS_PROXY=http://pengjd:*******@10.192.xxx.xxx:10086/"
[Install]
WantedBy=multi-user.target
|
使用proxychains
proxychains官方Repo
安装
1
|
sudo apt install proxychains
|
基本配置
信息
有很多种方式去配置proxychains,比如在./proxychains.conf、$(HOME)/.proxychains/proxychains.conf、/etc/proxychains.conf进行配置。
1
2
3
|
# ~/.proxychains/proxychains.conf
[ProxyList]
socks5 10.192.10.153 7890 user password
|
示例:使用proxychains
通过proxychains使用curl访问www.baidu.com
1
|
proxychains curl https://www.baidu.com
|
结果如下:
1
2
3
4
|
ProxyChains-3.1 (http://proxychains.sf.net)
|D-chain|-<>-10.192.10.xxx:10086-<><>-182.61.200.7:443-<><>-OK
<!DOCTYPE html>
以下省略
|
开启SOCKS/HTTP代理
Clash
配置文件中增加如下内容:
1
2
3
4
5
6
7
8
9
|
# HTTP_PROXY/SOCKS的端口设置
mixed-port: 7890

# 是否允许局域网内设备访问
allow-lan: true

# 若设置,则使用代理需要进行授权
authentication:   # authentication of local SOCKS5/HTTP(S) server
  - "user:password"
|
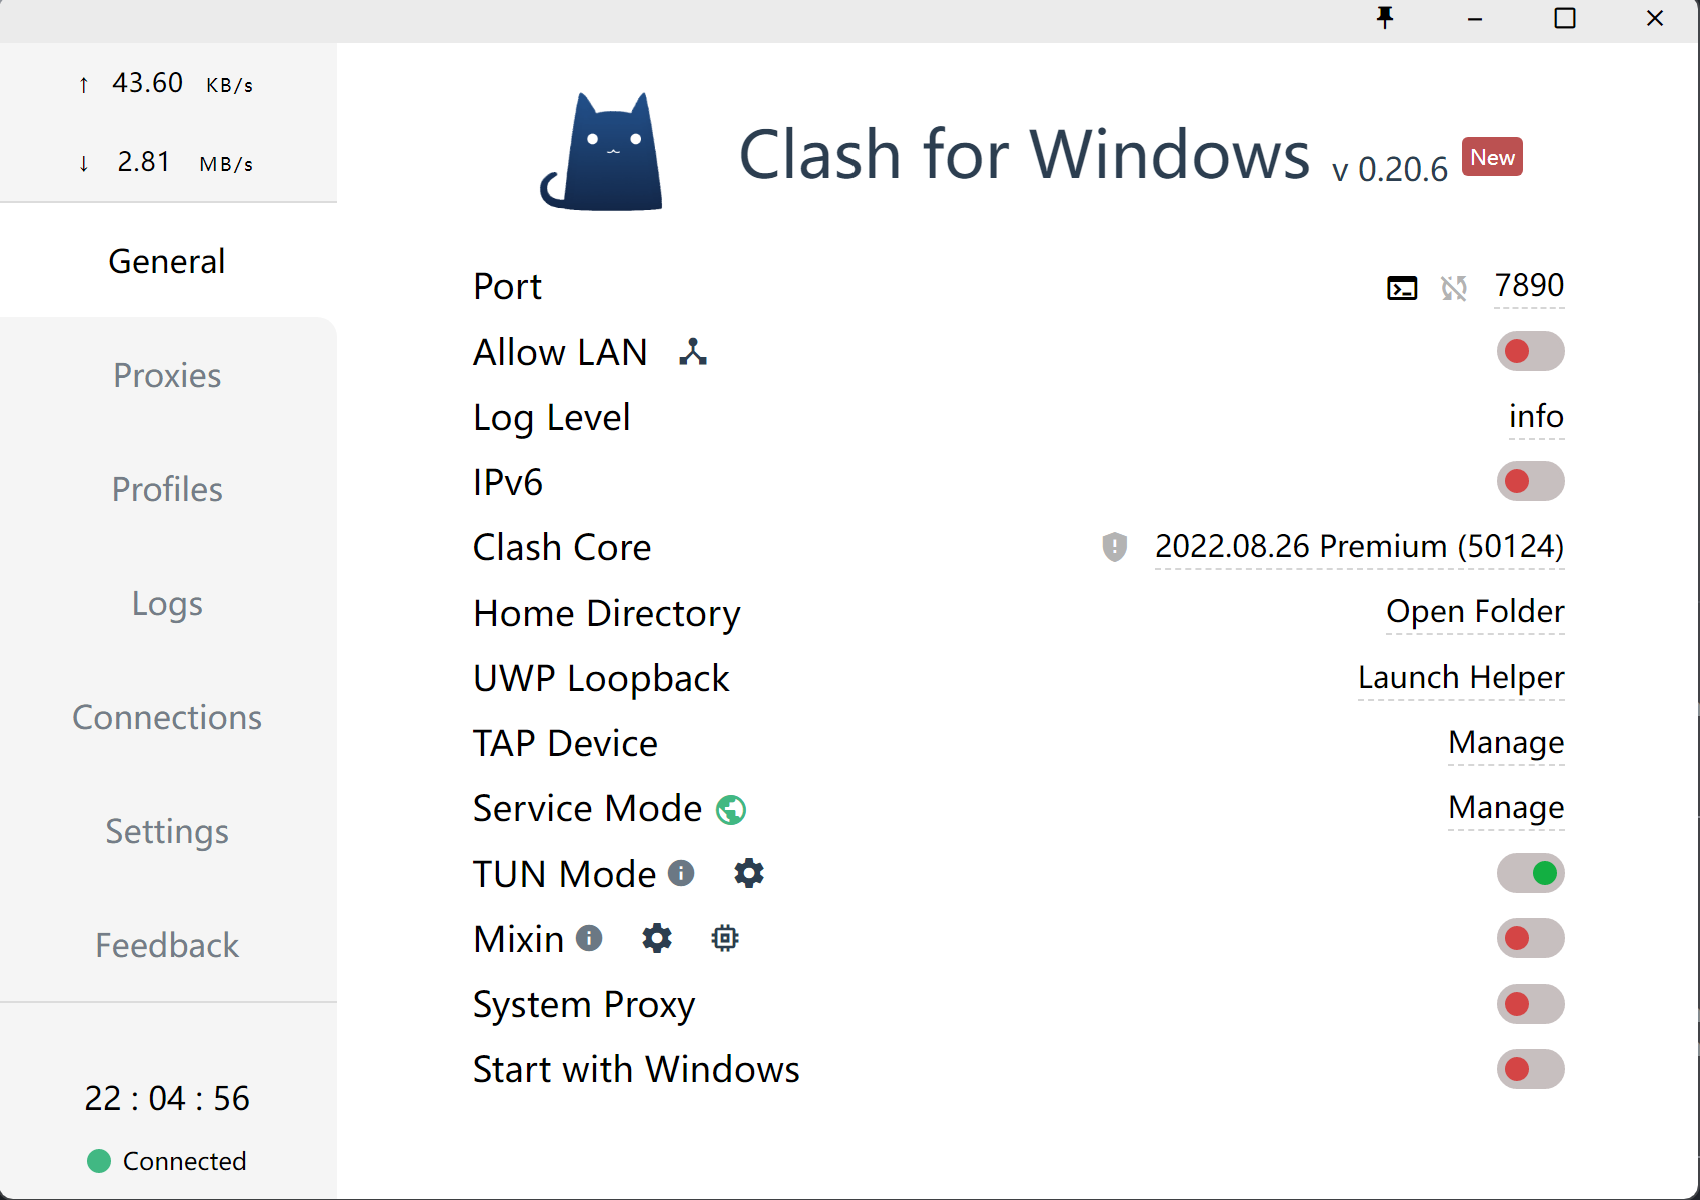
Clash for Windows

这里只需要打开Allow LAN就可以通过7890访问代理了。